Calcom
Cal.com is a scheduling tool that allows users to manage appointments and bookings. It provides features for integrating with various tools and can be customized to fit many use cases.
- Setting up your Calcom account
- Connect Your Google Calendar
- Set Display & Notification Email Address
- Getting Your Meeting Link
Setting up your Calcom account
Once you receive your CBTSCommons onboarding email, you already have a Calcom account, it just needs to be set up.
- Using your CBTSCommons credentials, sign in to Calcom - https://calcom.cbtscommons.org

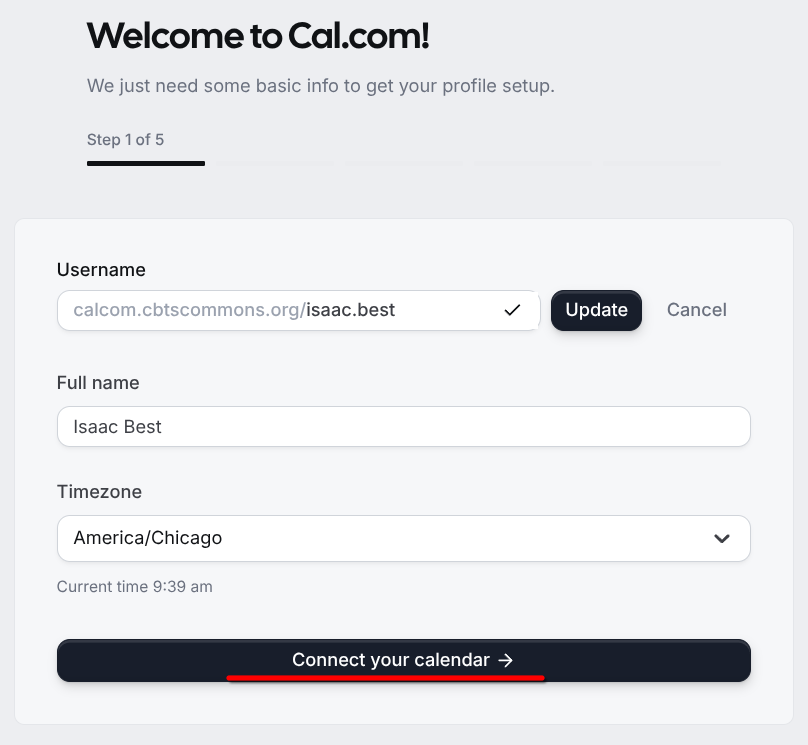
- Confirm your Full Name and Timezone. (You can also change your username if you desire.) Select "Connect your calendar".

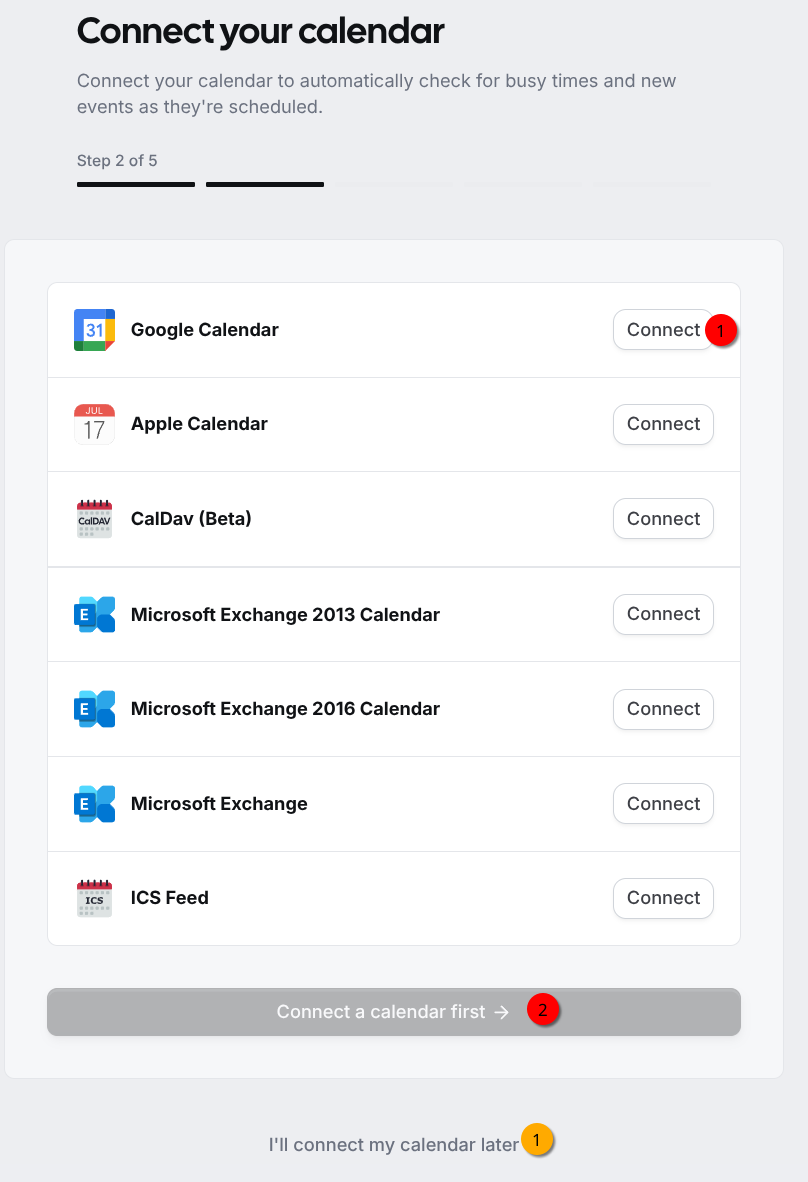
- Connect your Google calendar. Specific instructions are available in the Connect your Google Calendar page; start on step #5. (You may also choose to connect your calendar later; simply scroll down and select "I'll connect my calendar later".)

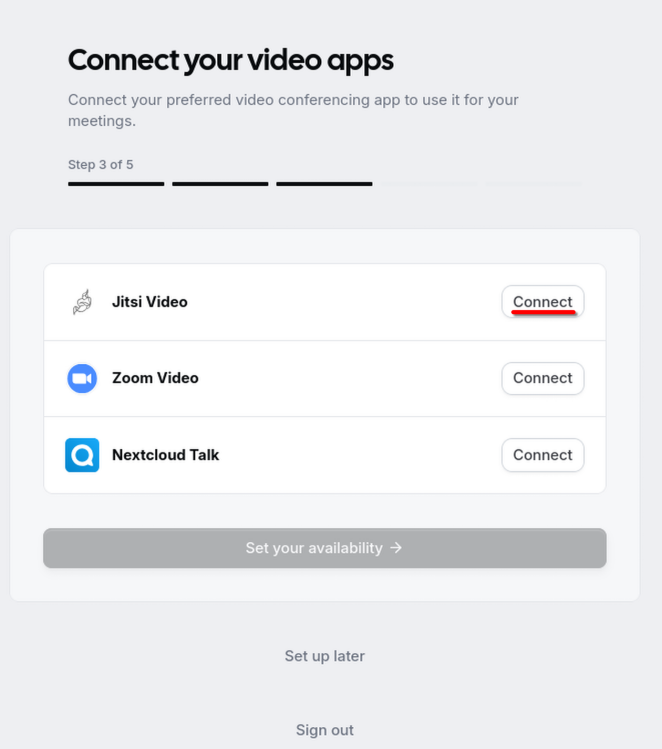
- On the "Connect your video apps" screen, select Jitsi Video. It will install in the background and then read "Installed".
Do not select Zoom Video unless your name is Rexford Semrad. It will not work for you.

You can also add the Nextcloud Talk app if you want. But make sure to set Jitsi Video as the default.
- Select "Set your availability".
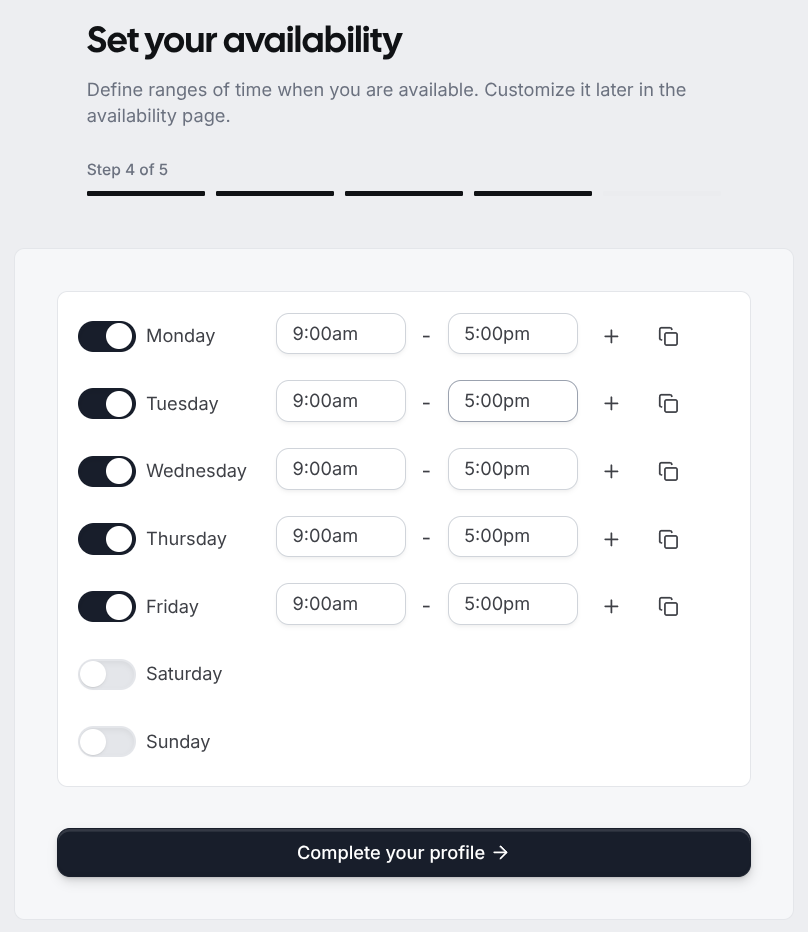
- Use this screen to set your usual availability. Then select "Complete your profile".
- Use the + to add multiple time slots on the same day (useful if you want to insert a break during the day) and the copy icon to duplicate one day to other days.

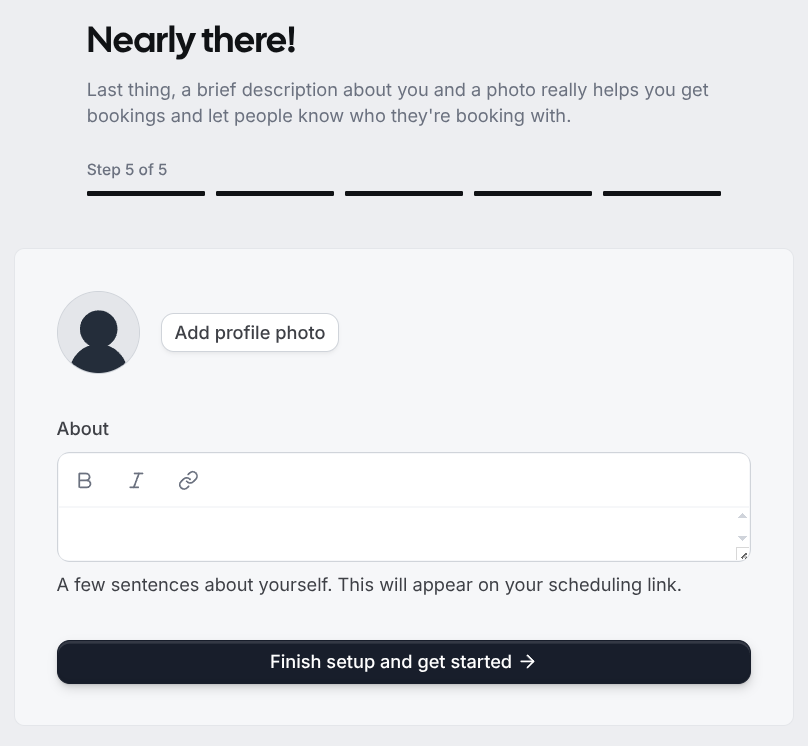
- Optionally, add your CBTS profile picture (and maybe some details about yourself) on the next screen. Then select "Finish setup and get started".

- You have set up your Calcom event and are ready to start accepting meeting invitations.
From here, you can connect your Google calendar (if you didn't during set up) or customize your offered "events".
You will need to change your default meeting email to be able to show your CBTSeminary.org address to registrants. By default, your CBTSCommons email address will be shown.
Connect Your Google Calendar
- Open the CBTSCommons Calcom tool - https://calcom.cbtscommons.org.
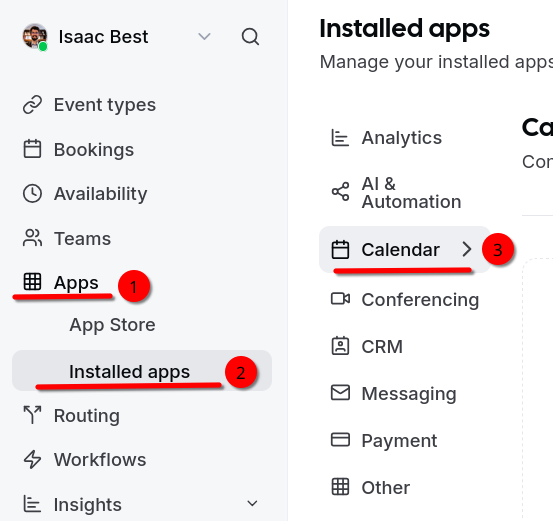
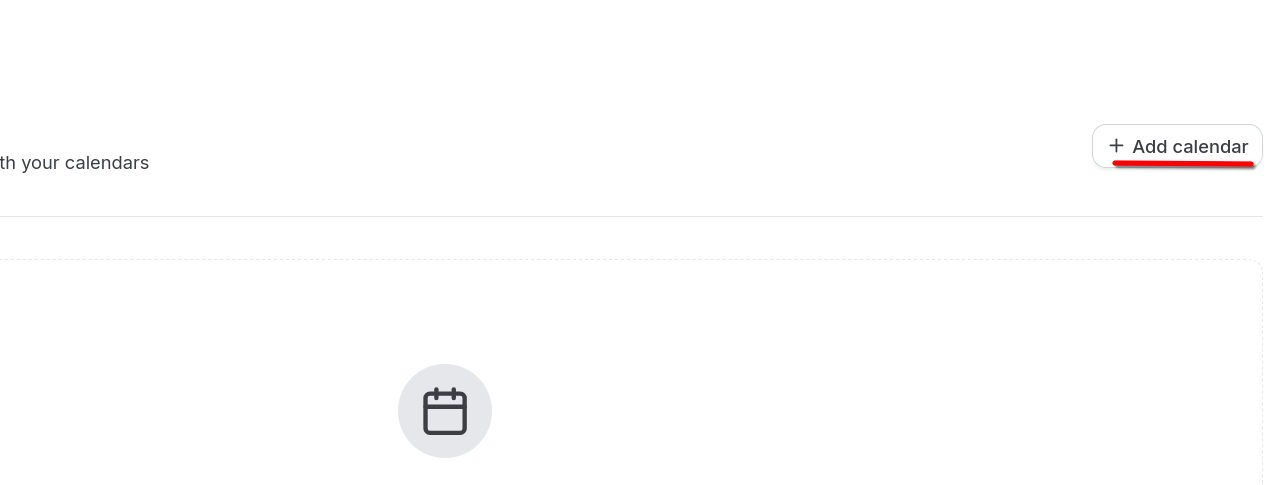
- On the left sidebar, go to Apps -> Installed Apps -> Calendar. Select "+ Add calendar" on the top right.


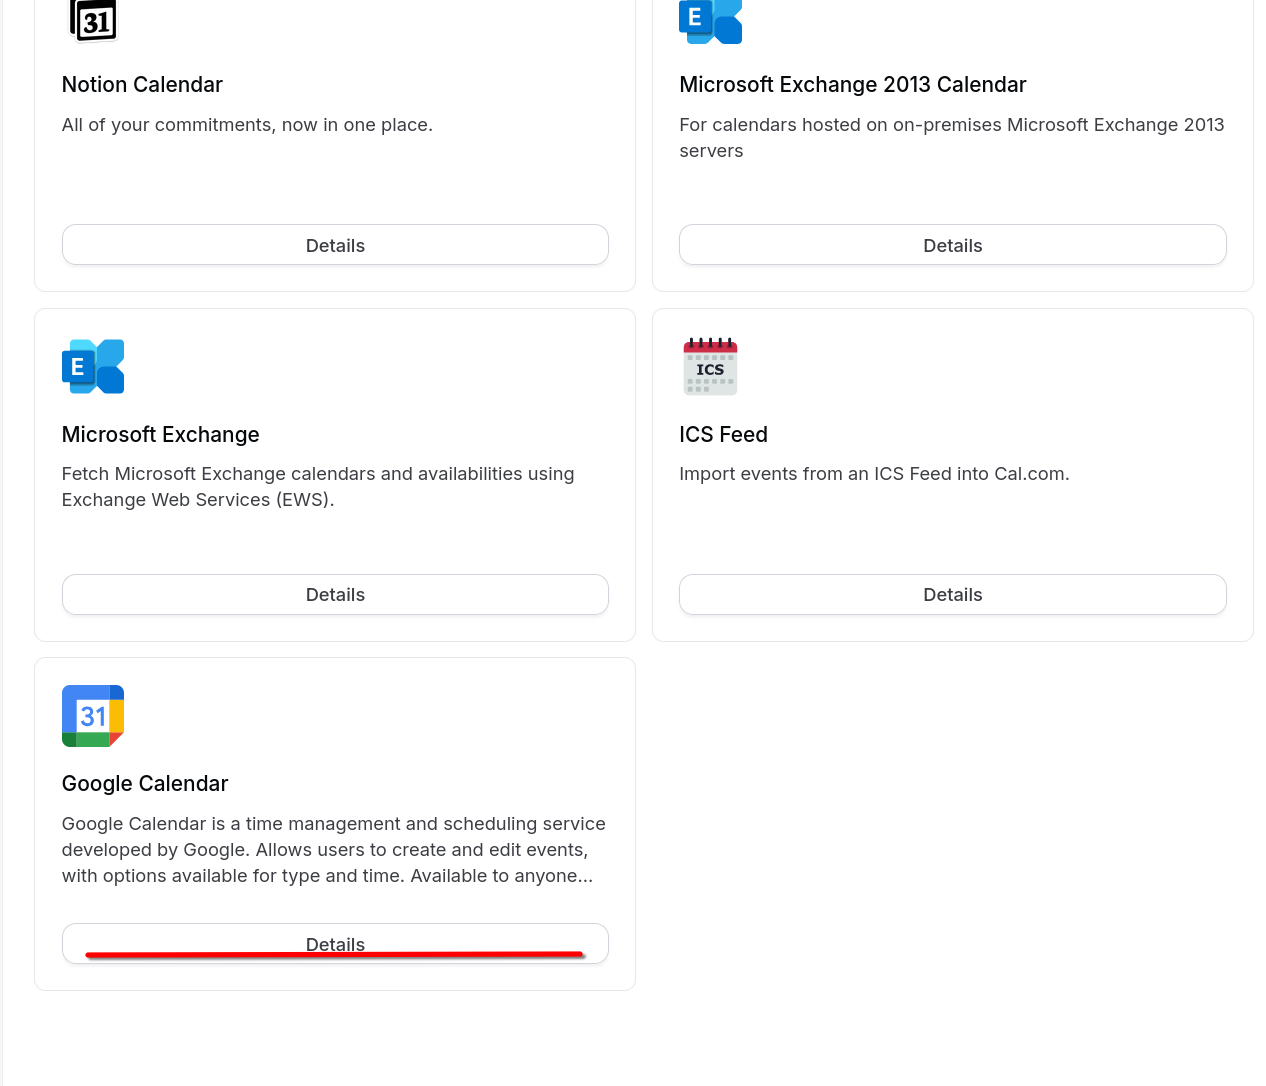
- Scroll down to the Google Calendar app and select Details.

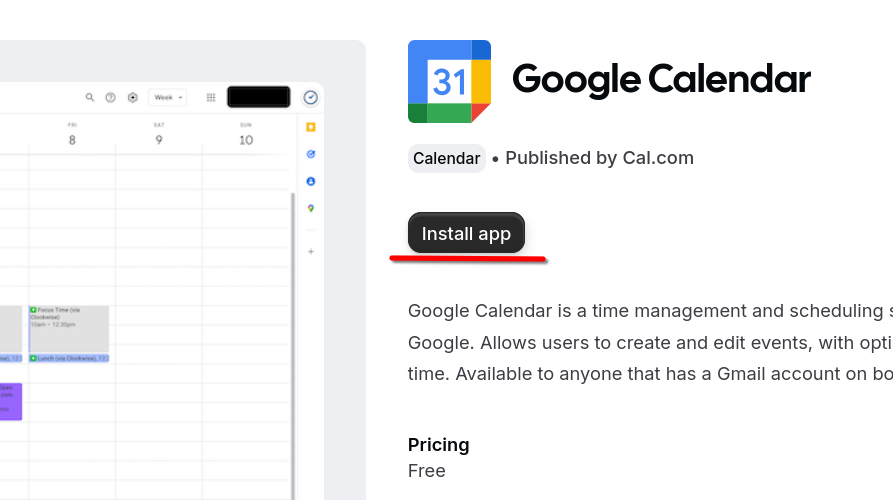
- On the next page, select "Install App"

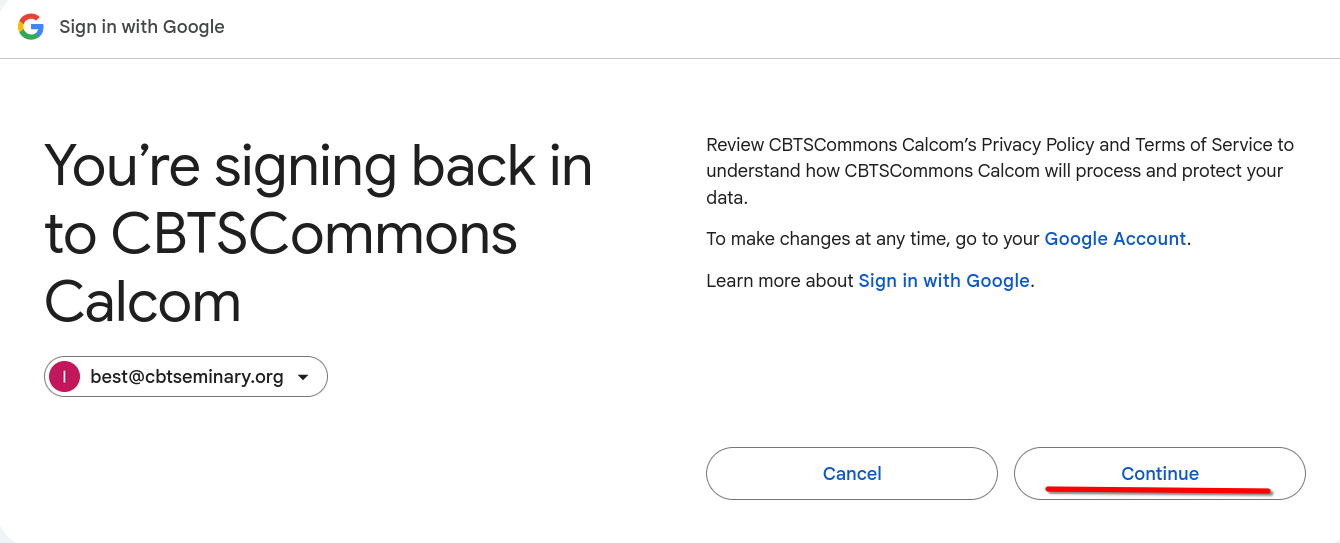
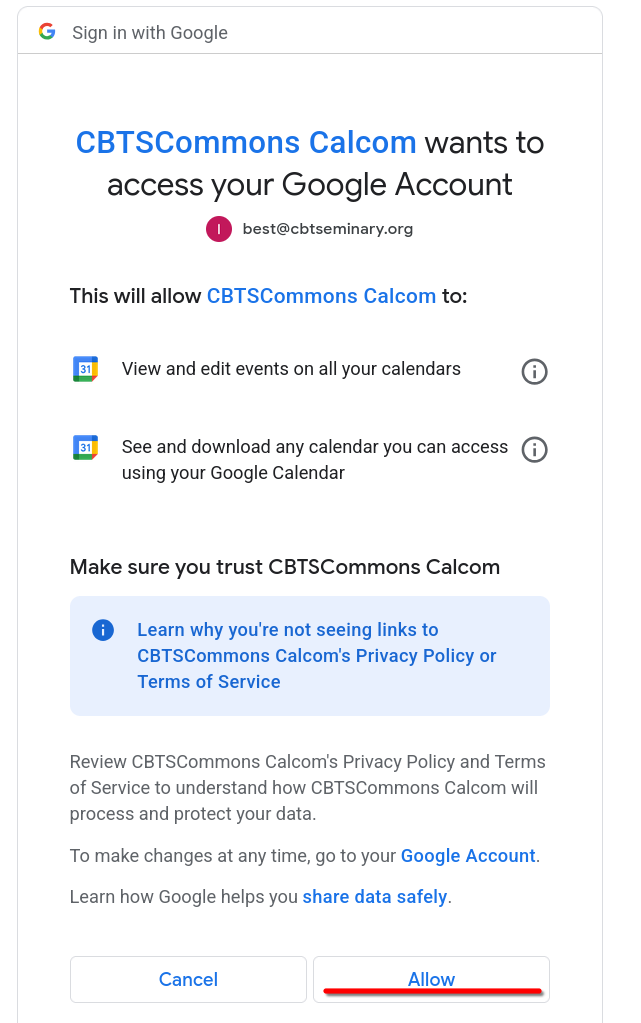
- You will be taken to a Google Login/authentication screen. Log in to your CBTS Google account and select "Continue".

- Select "Allow" to authorize Calcom to access your Google calendar.

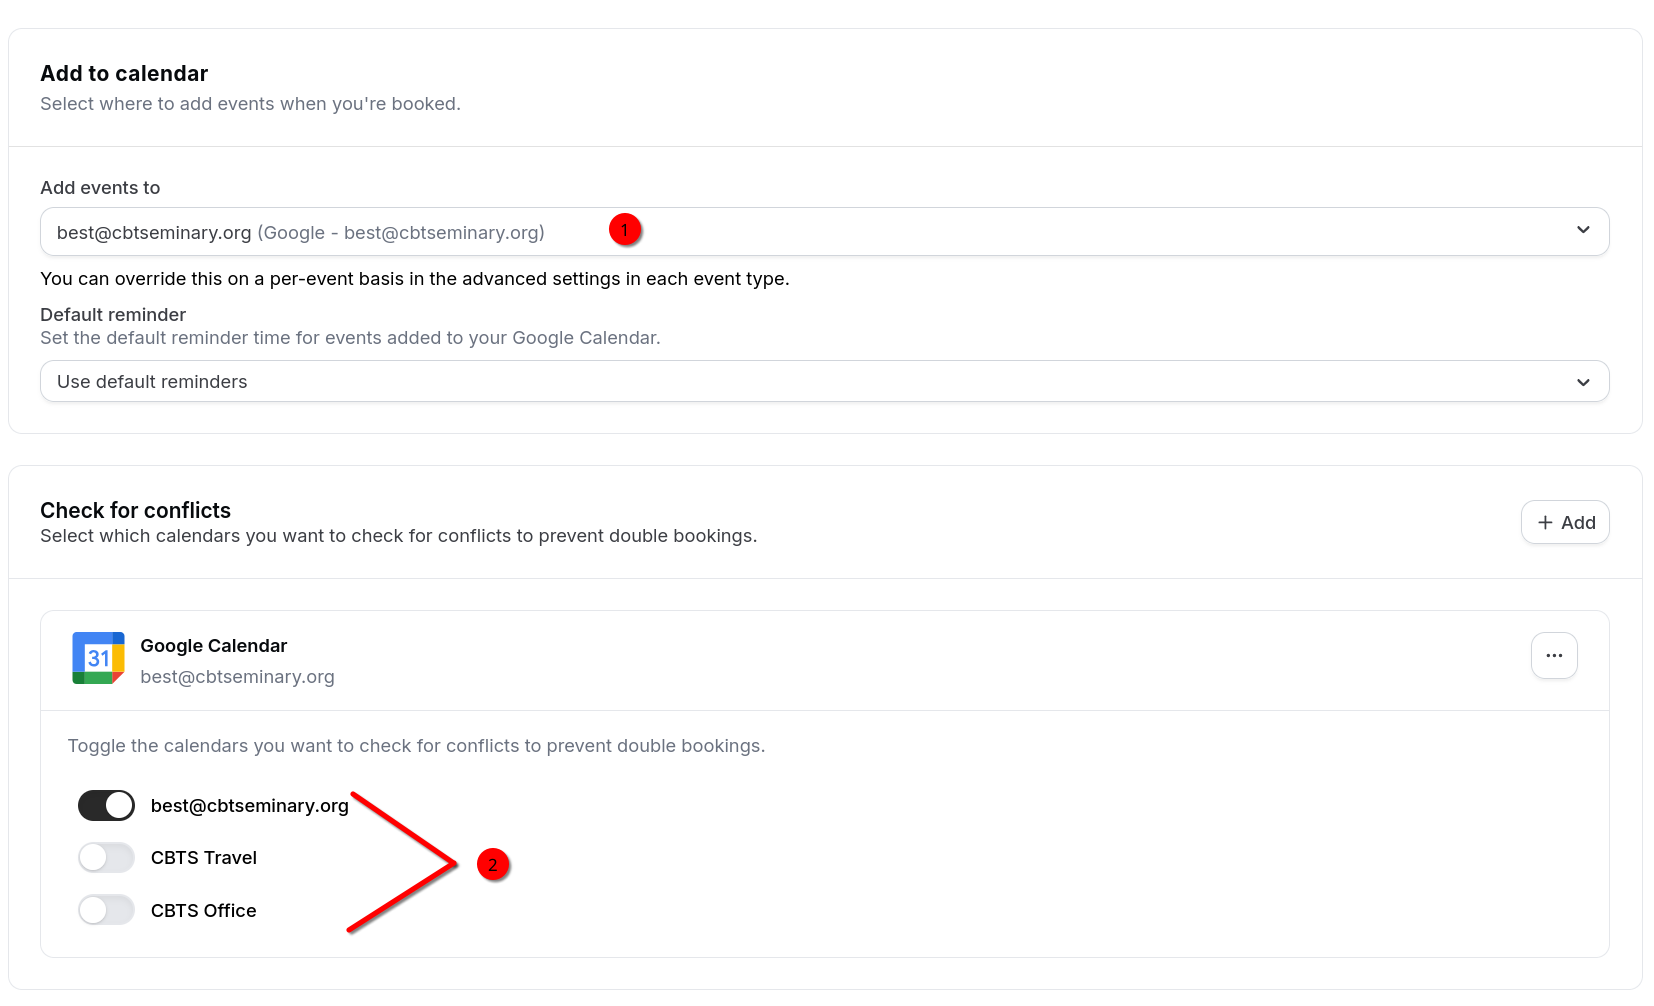
- Configure your scheduling details.
- Choose which calendar Calcom will add new meetings/events to.
- Select which calendar(s) Calcom will check for conflicts when scheduling new meetings/events. (This can be configured on a per event type basis as well.)

- Your calendar is now connected to Calcom.
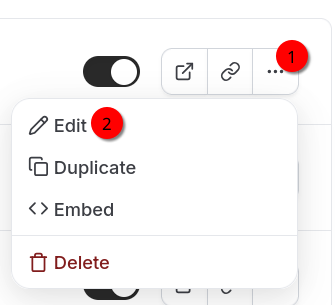
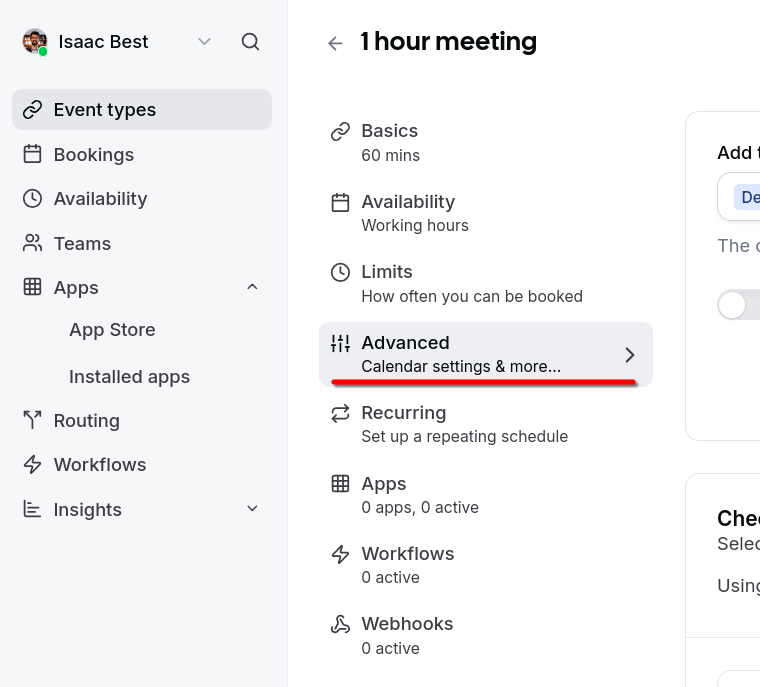
Note: Further calendar-specific settings can be found under each event type in Event Types -> event options dropdown -> Edit -> Advanced
Set Display & Notification Email Address
By default Calcom sends your booking notifications to your CBSTCommons email address and shows it to registrants upon booking. You will need to change the settings to show your CBTSeminary.org email address instead.
You must connect your Google Calendar before you can complete these steps.
You will need to repeat this for each event type that you are using.
- Go to the Event Types page in Calcom.
- Find the event you want to modify. On the far right of that event, select the "More" icon and click "Edit".

- On the sidebar towards the left, select "Advanced".

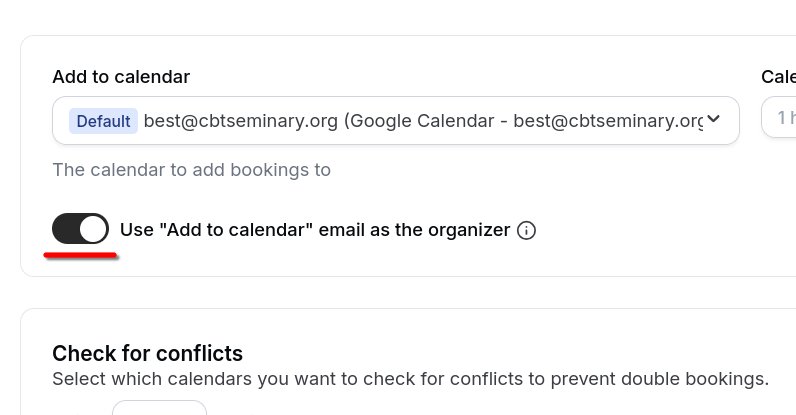
- Toggle the "Use 'Add to calendar' email as the organizer" option. Make sure the option above, "Add to calendar," is set to your CBTSeminary.org email/Google Calendar.

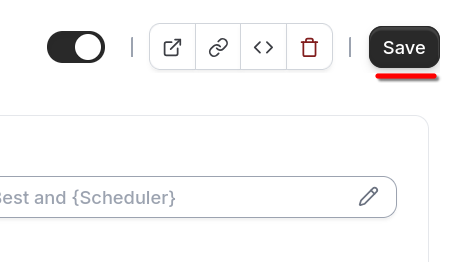
- On the top right, click "Save".

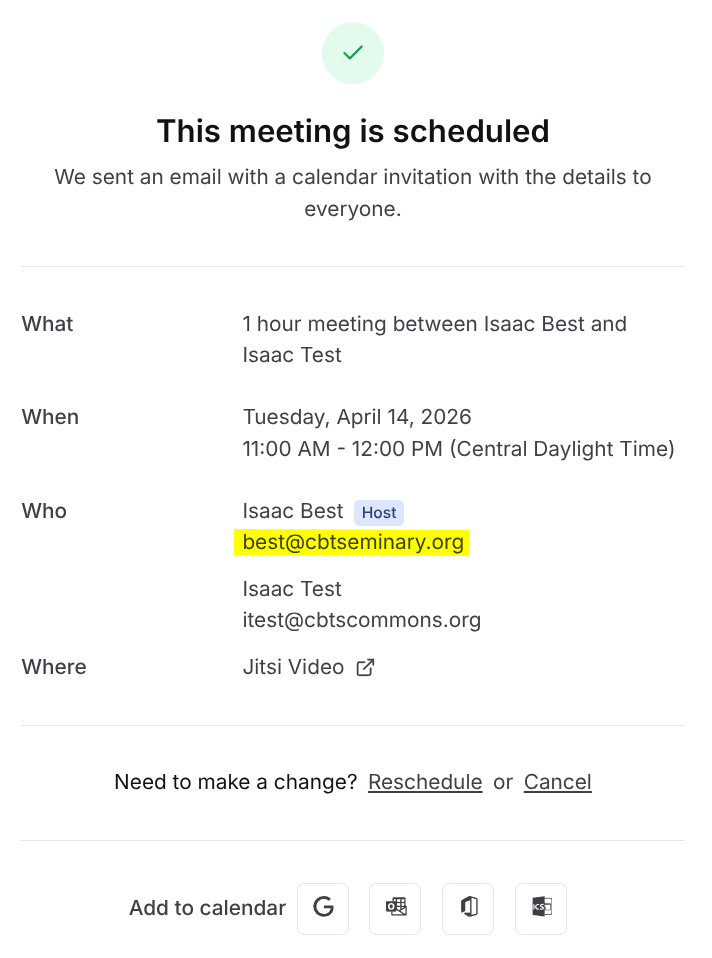
Your CBTSeminary.org email address will now show on meeting confirmations for that event and emailed booking notifications will be sent to that address.

Getting Your Meeting Link
In order for anyone to use Calcom to schedule a meeting with you, you will need to provide them a link.
- Go to the CBTSCommons Calcom homepage. You should see your event types in the main section.
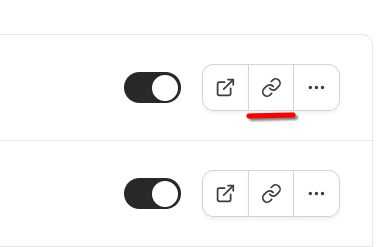
- Find the correct event type (the default events are named by event length). On the far right, click the "link" icon for that event.

- Your event link is now copied to your clipboard. Paste it in an email, webpage, or wherever you need to put it.