Jitsi Basics (getting started)
Getting started
Scheduling a meeting
Unlike Zoom, Jitsi does not have a scheduling component of its own. This is left to other services to provide; we integrate with Calcom for scheduled meeting needs. Therefore, we need to be more precise in what we mean. Here, we'll discuss how to prepare a meeting link that can be send out to one or several individuals.
Basic method
- Come up with a unique meeting name. For our example, we will use "General Assembly In London".
- Add your meeting name at the end of our Jitsi
URLlink (without any spaces) - https://jitsi.cbtscommons.org/[your meeting name here]
https://jitsi.cbtscommons.org/GeneralAssemblyInLondon - Send that link to your meeting attendees.
Longer method
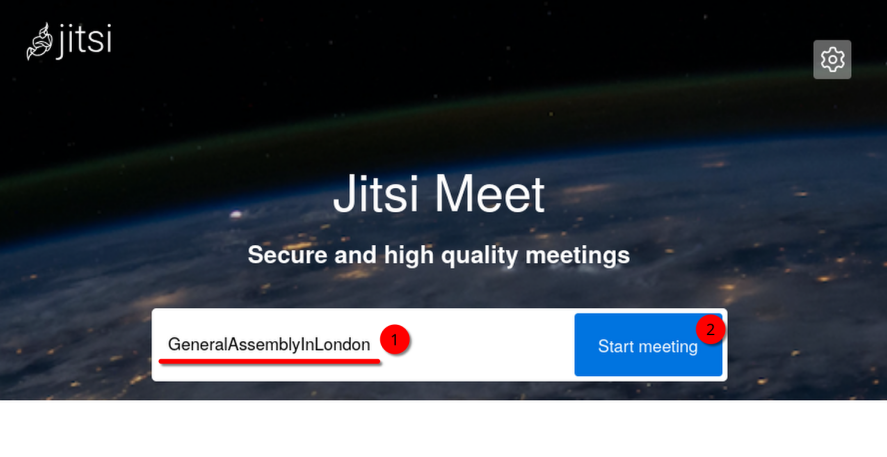
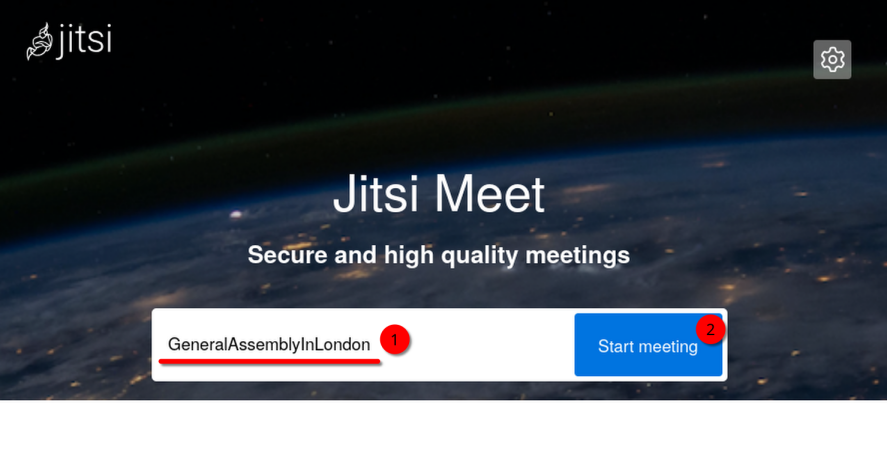
- Open Jitsi - https://jitsi.cbtscommons.org.
- Type a unique meeting name into the text box. Then click "Start Meeting".
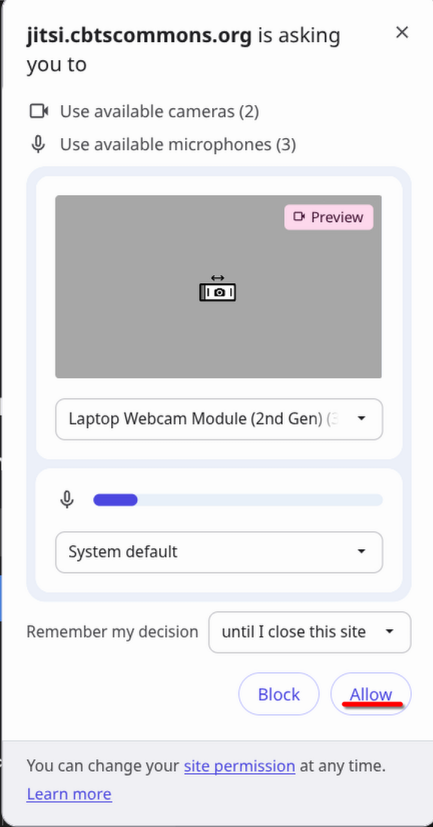
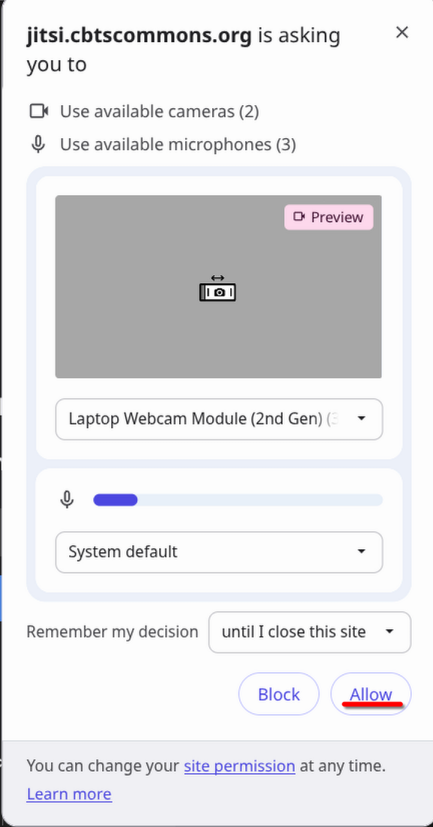
- Select "Allow" on the permissions pop-up.
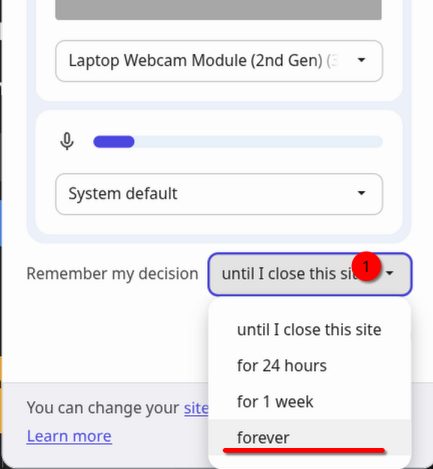
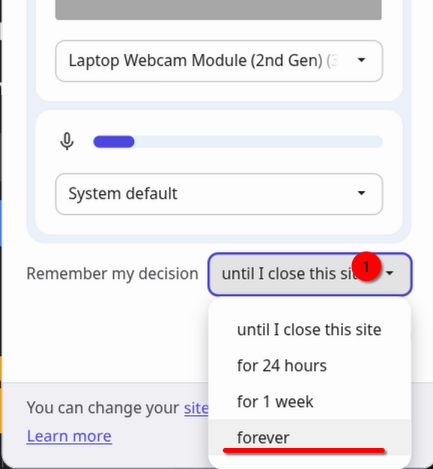
You may want to change the time for your browser to remember this permission. This will prevent you from being asked for camera & microphone permissions every time you join a Jitsi Meeting.
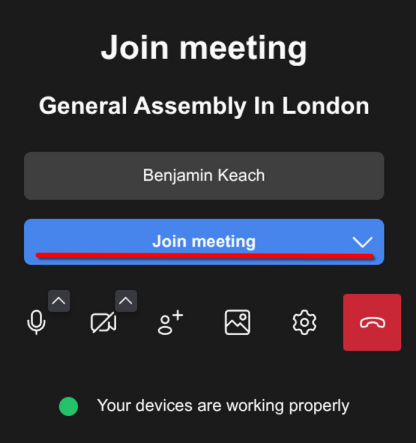
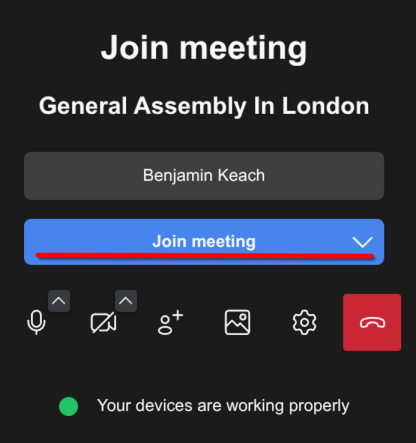
- Select "Join Meeting" on the left sidebar.
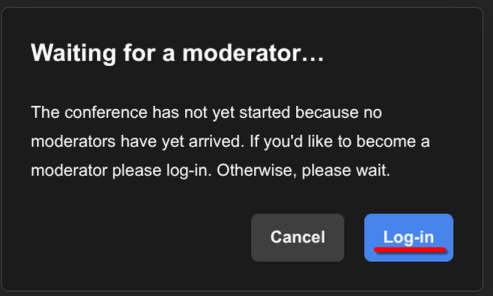
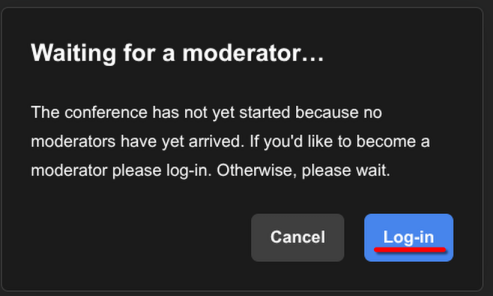
- If you are asked to Log in, do so.
- Select "Log-in"
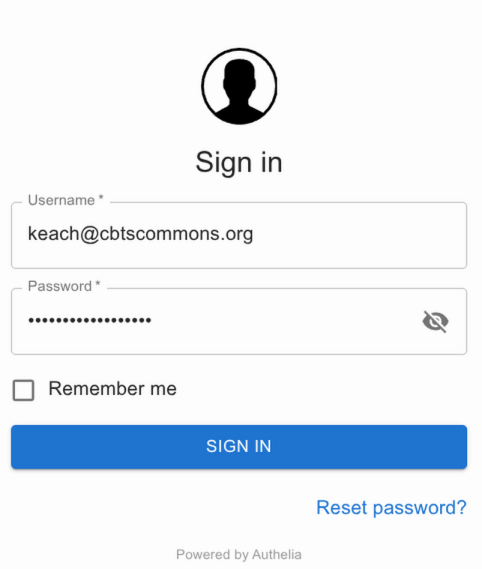
- If prompted, sign in using your CBTSCommons credentials.
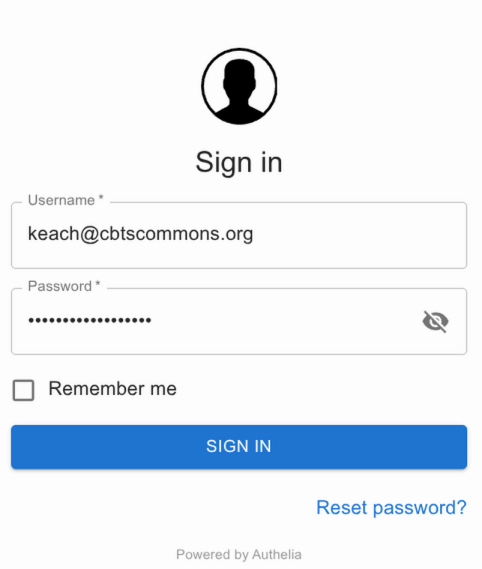
- Select "Log-in"
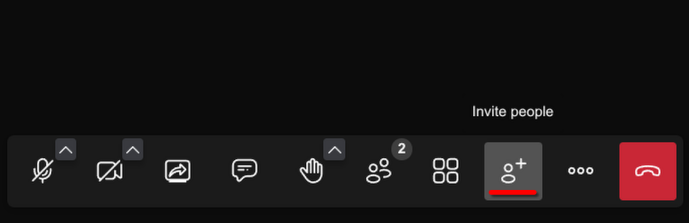
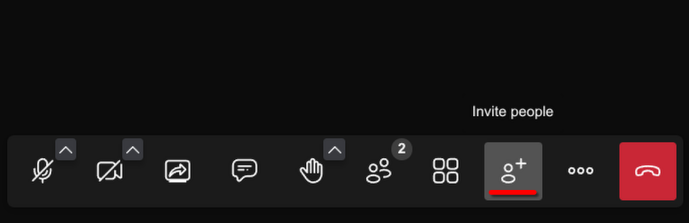
- Select the "Invite people" button on the bottom bar.
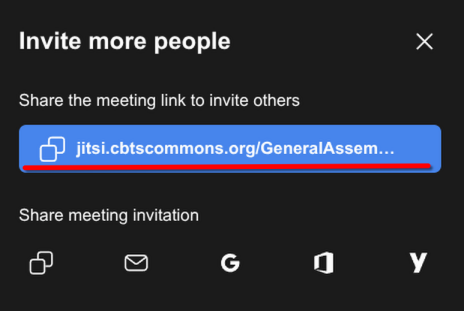
- Click the blue copy button to copy the meeting link. (Alternately, use email icon buttons to open your email with a pre-populated meeting link.)
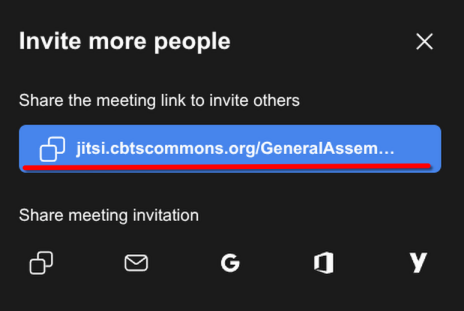
- You now have a Jitsi meeting link in your clipboard. You may close/leave the Jitsi meeting.