Adding 2FA (TOTP/Authenticator) codes to Vaultwarden
Vaultwarden can be used to generate TOTP/2FA codes in the place of Authenticator apps (such as Google Authenticator/Microsoft Authenticator). This article will walk you through setting up an account to use Vaultwarden for 2FA codes.
Most services that offer 2FA will give you a QR code to scan. We will begin at this step and use a Google Account as an example. The Vaultwarden steps will be the same for most/all accounts.
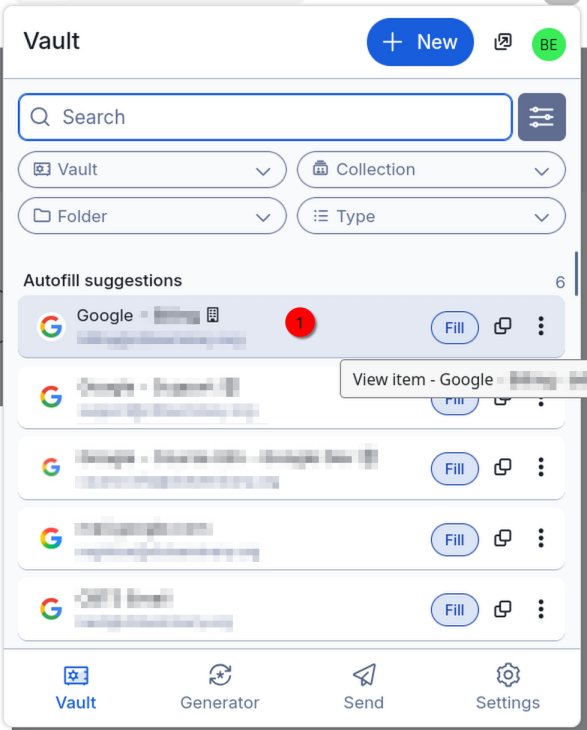
- Once you have a QR code to scan in the browser, click the Bitwarden extension icon.
- In the Bitwarden extension window, select the account to which you are adding 2FA. (You can also select "New" and add a
login.login, in which case, skip to step #4.)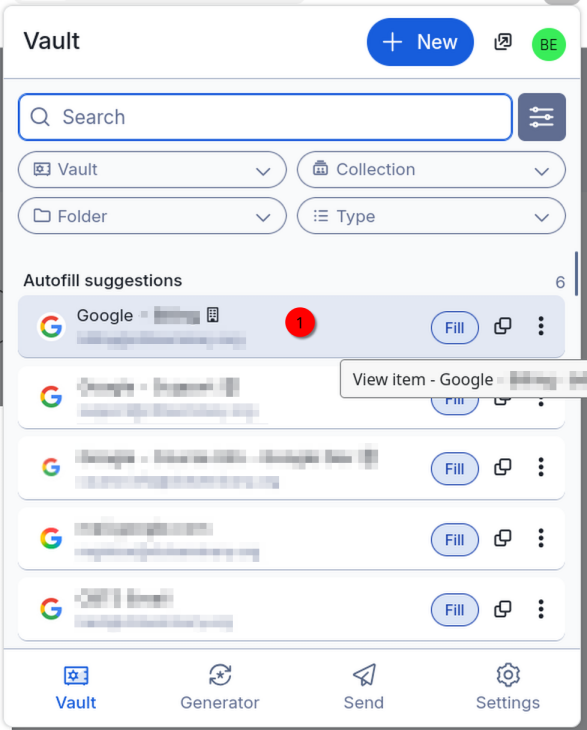
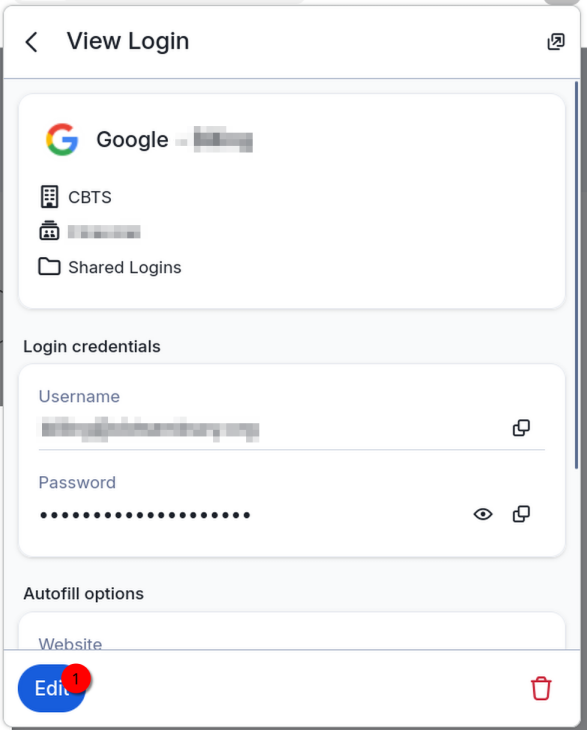
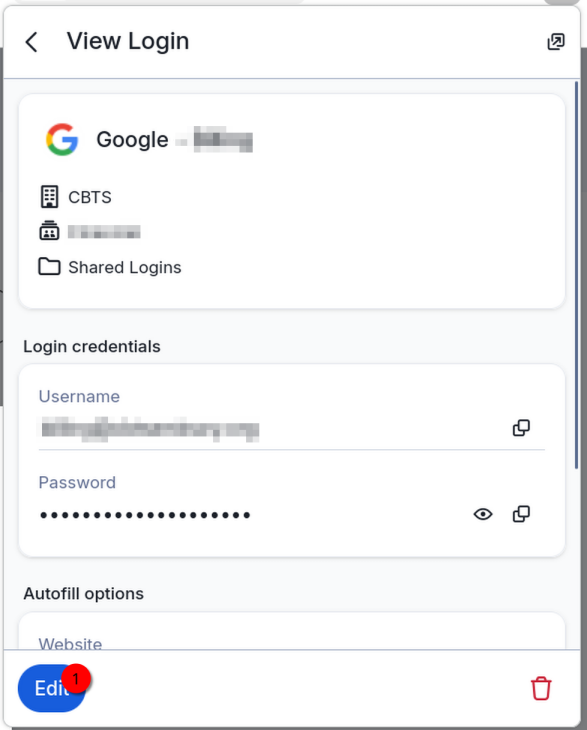
- Select "Edit" in the lower left corner.
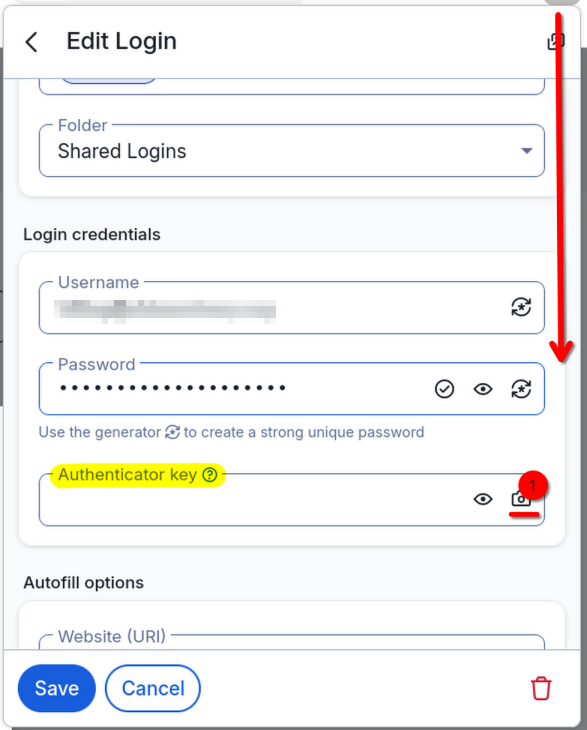
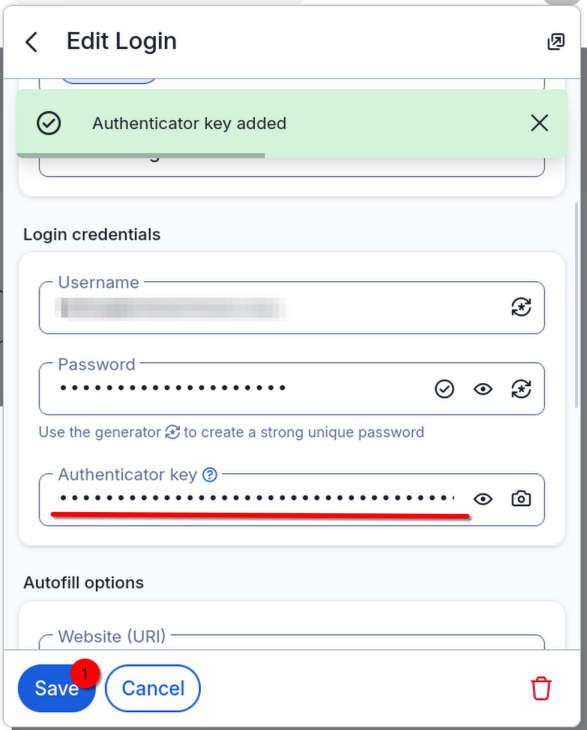
- Scroll down to the section labeled "Login credentials" and find the "Authenticator key" text box. Select the camera icon.
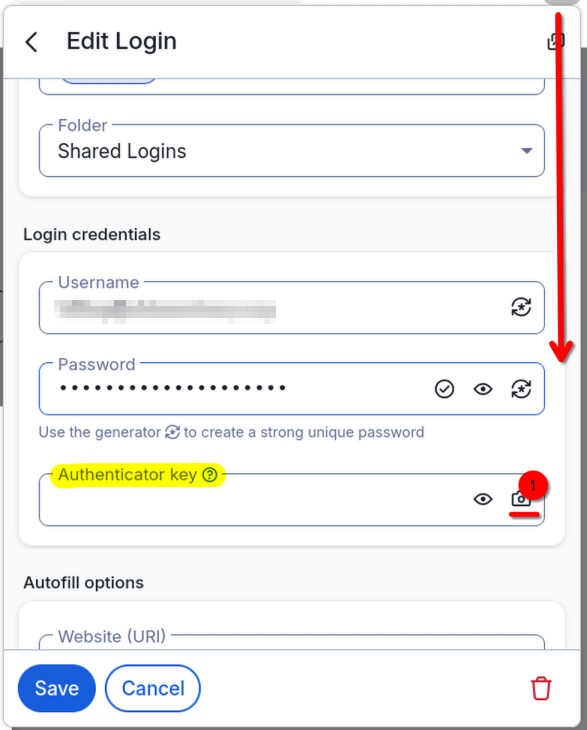
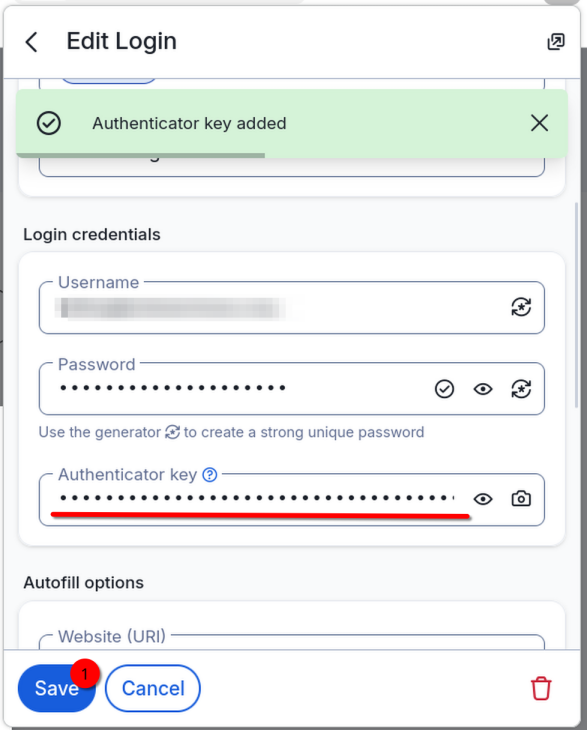
- The QR code will be scanned and the key added to Vaultwarden. Click "Save".
- Continue in the browser (usually you will click "Next"). You should be prompted to enter your 2FA code.
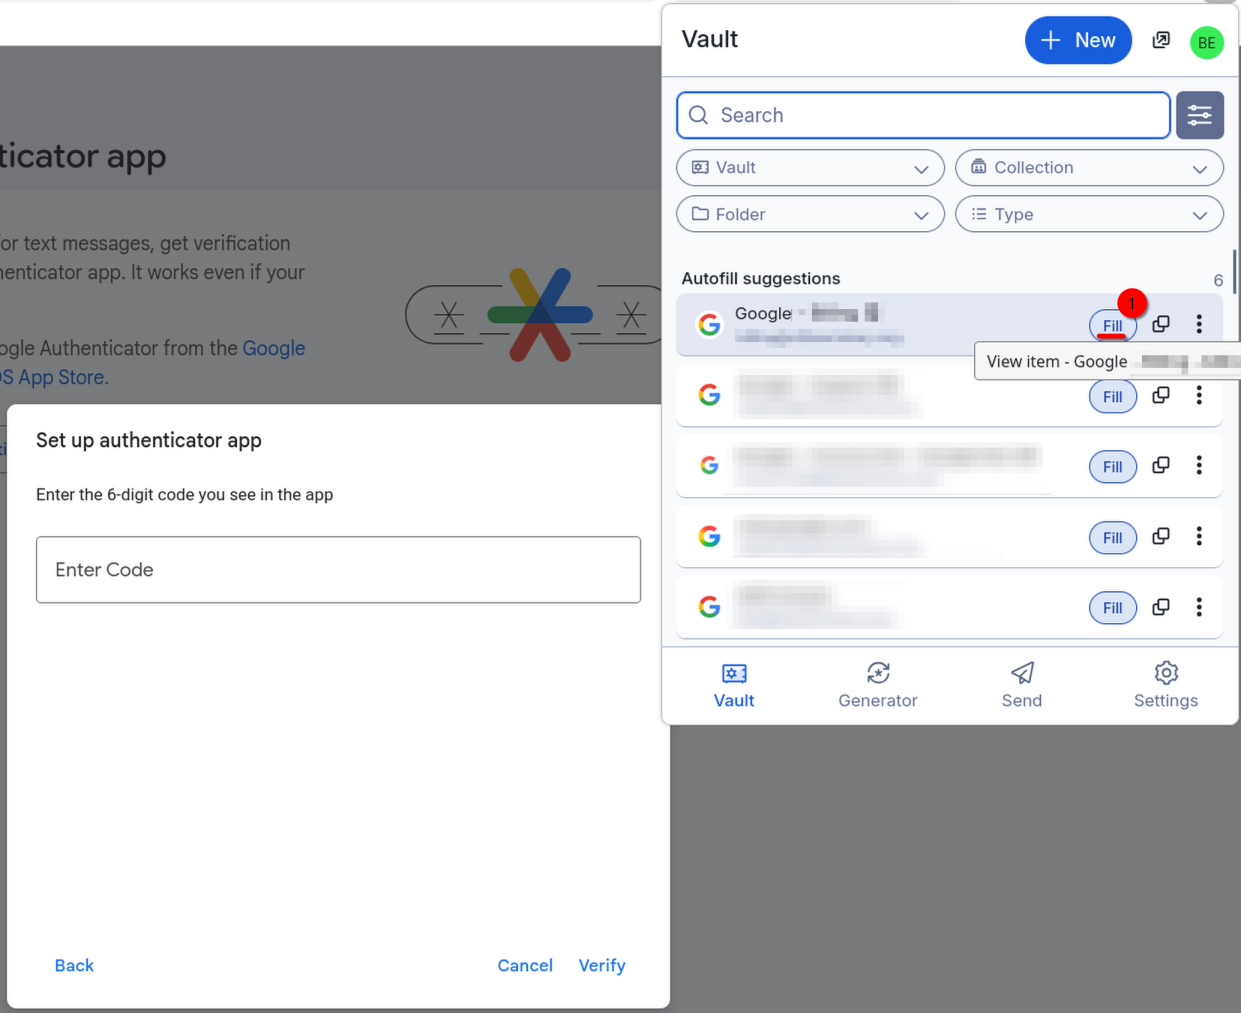
- Open the Bitwarden extension again and select "Fill" next to the correct account. Your 2FA code should populate in the browser page.
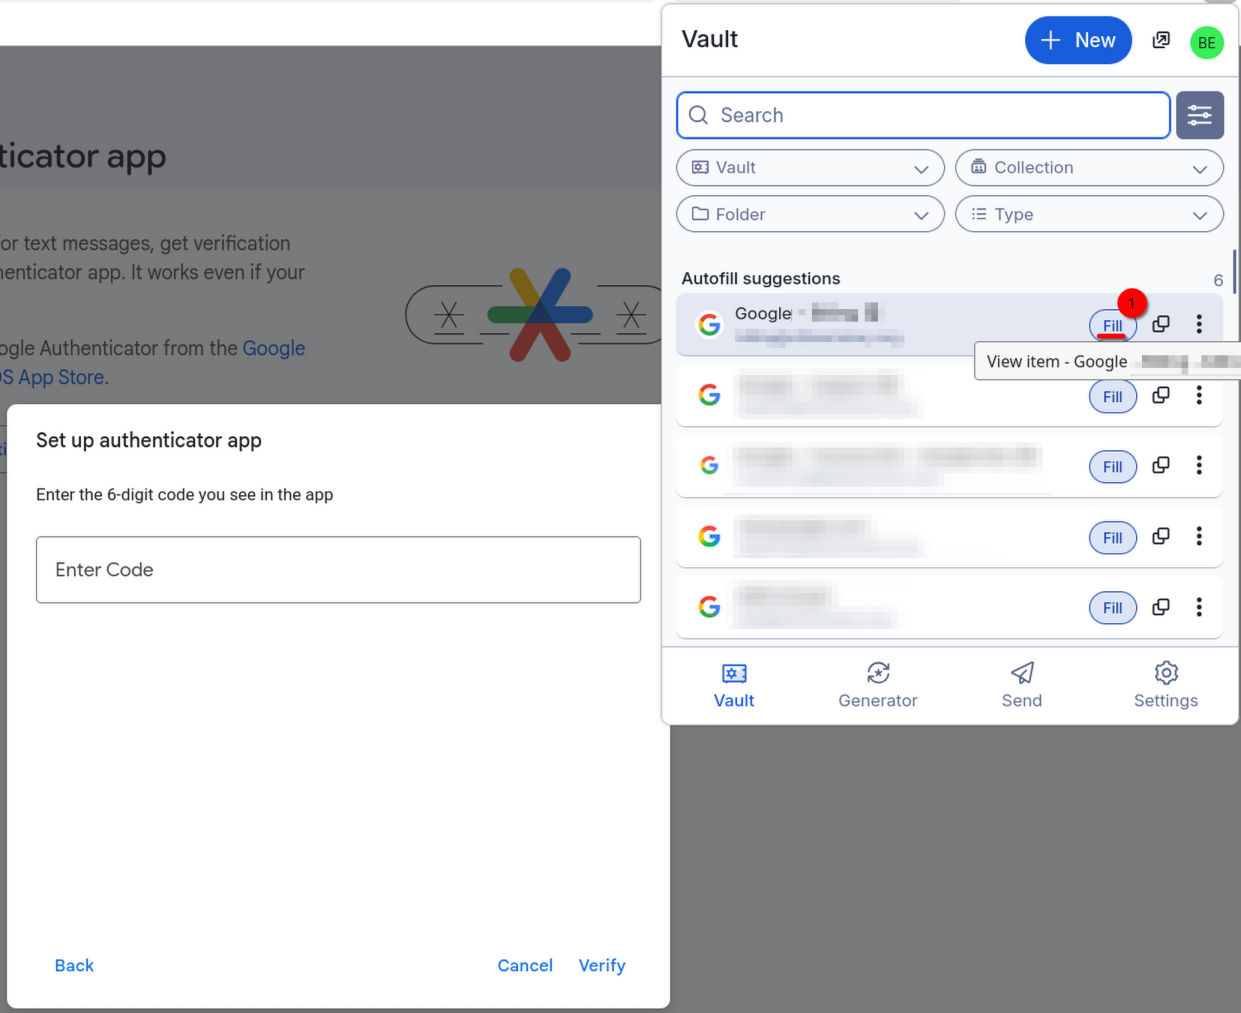
- Select "Verify" (or whatever the appropriate option for your specific account ).
-
You have set up Vaultwarden to generate 2FA codes for your account.