Setting up your Calcom account
Once you receive your CBTSCommons onboarding email, you already have a Calcom account, it just needs to be set up.
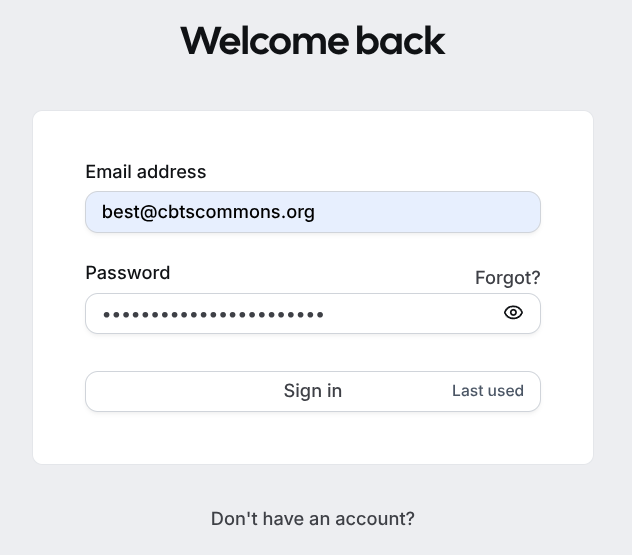
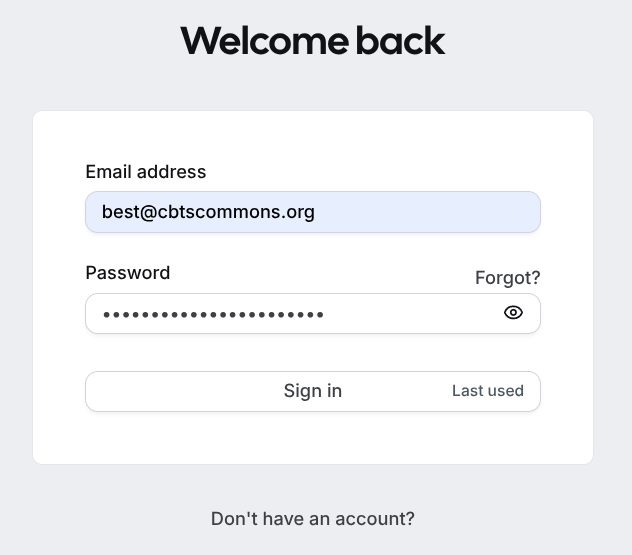
- Using your CBTSCommons credentials, sign in to Calcom - https://calcom.cbtscommons.org
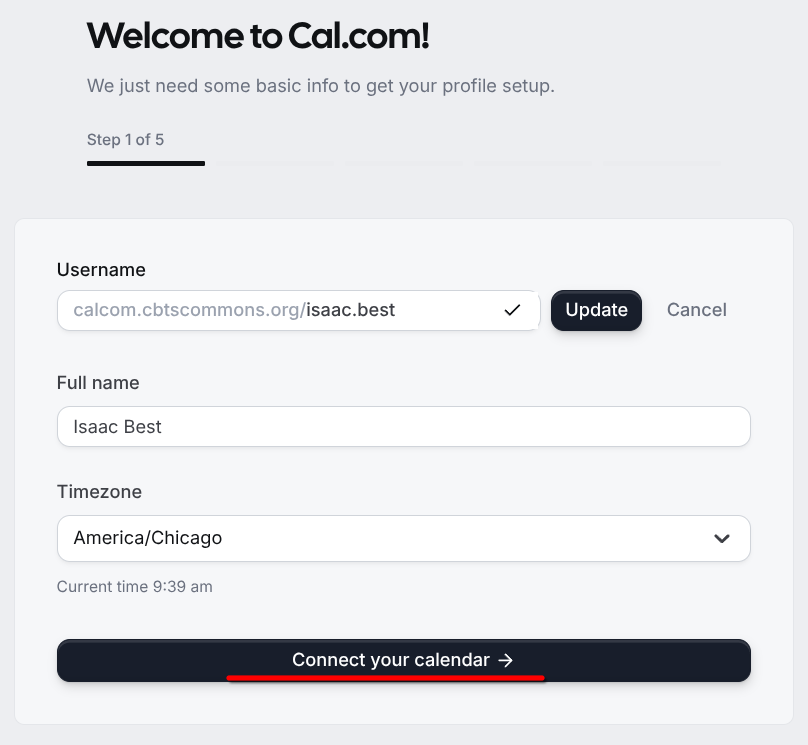
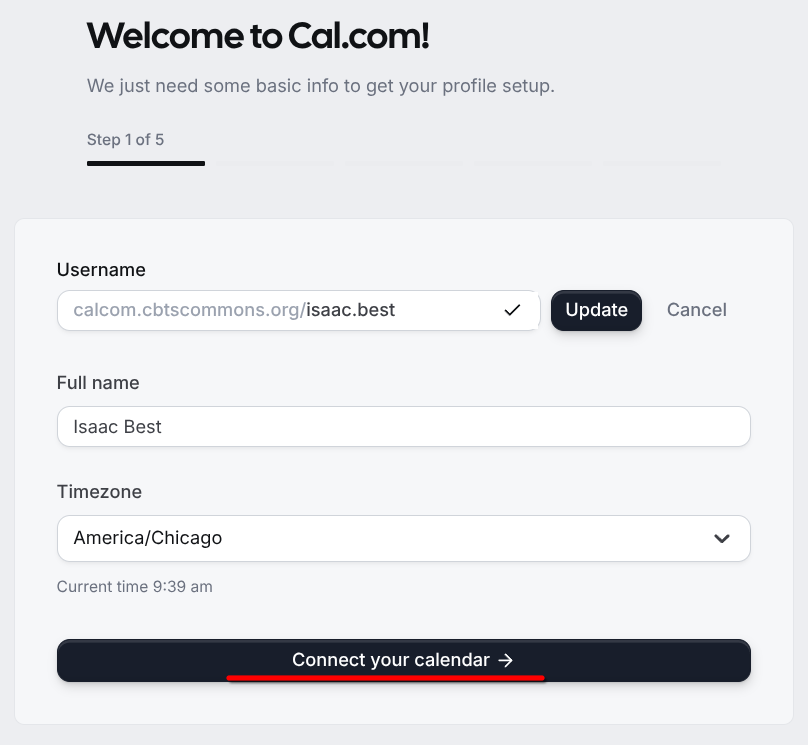
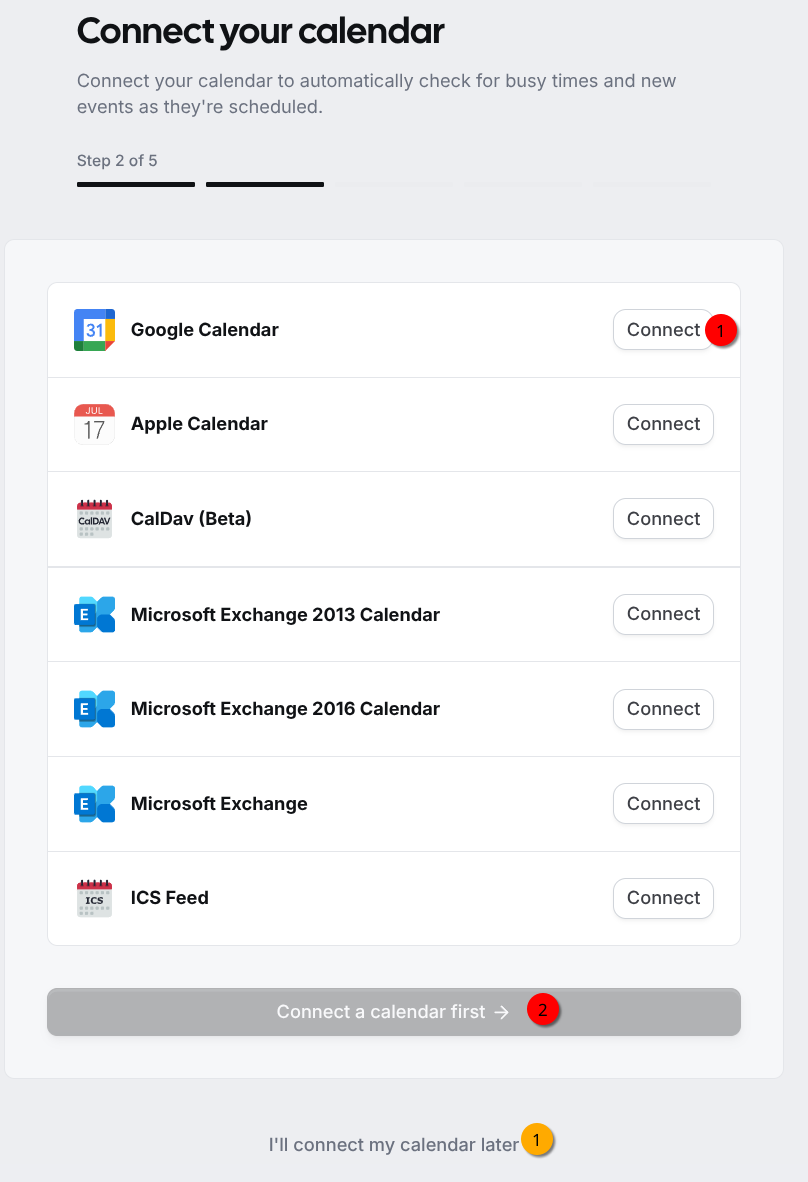
- Confirm your Full Name and Timezone. (You can also change your username if you desire.) Select "Connect your calendar".
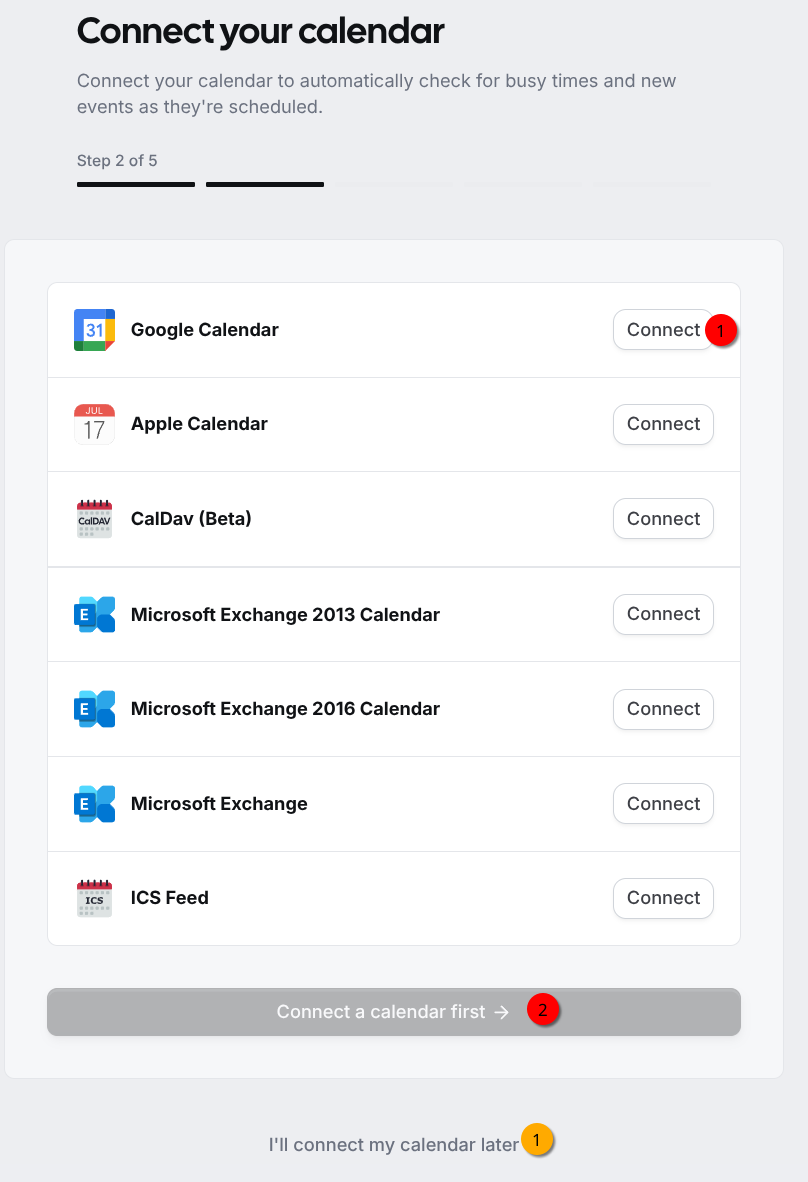
- Connect your Google calendar. Specific instructions are available in the Connect your Google Calendar page; start on step #5. (You may also choose to connect your calendar later; simply scroll down and select "I'll connect my calendar later".)
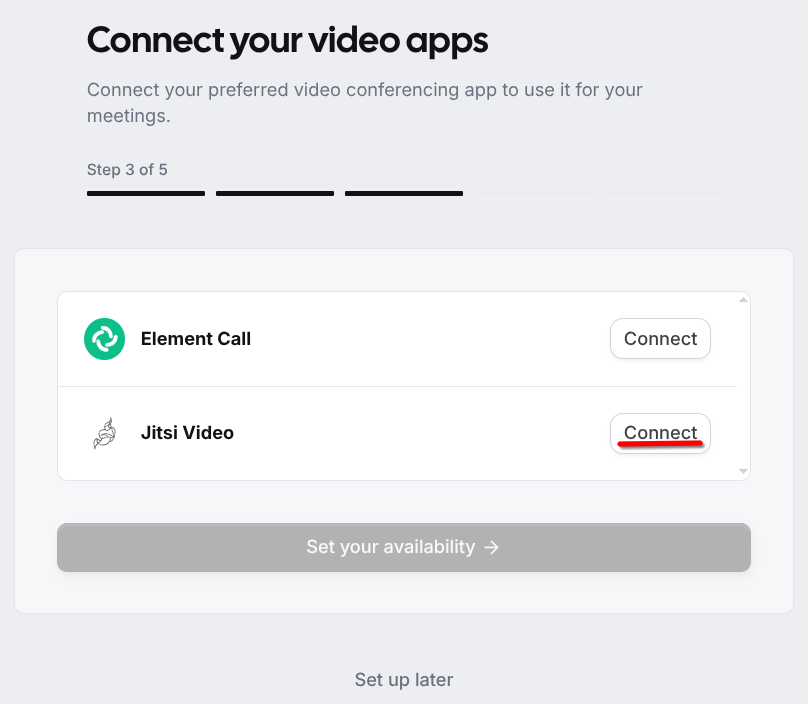
- On the Connect your video apps screen, select Jitsi Video. It will install in the background and then read "Installed".
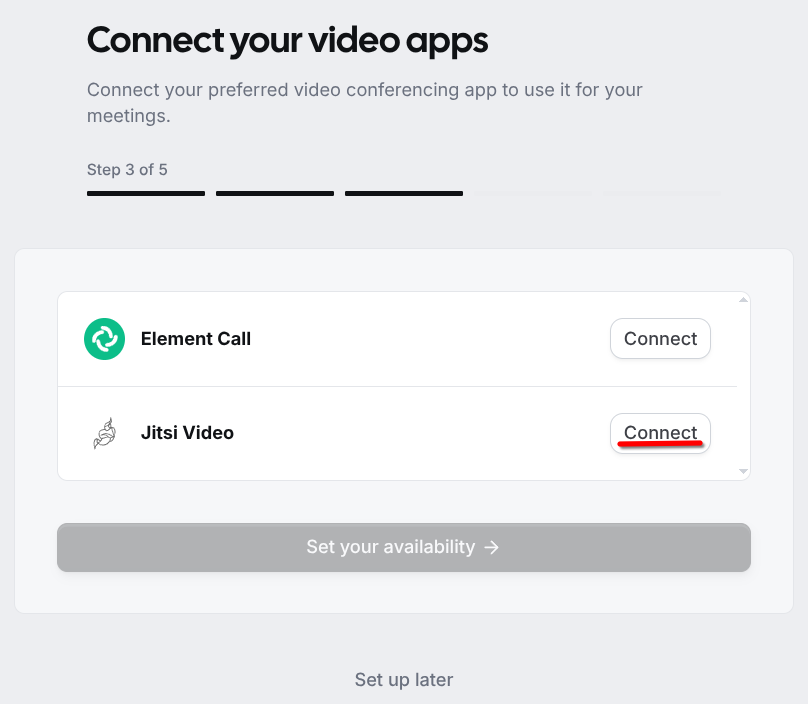
You can also add the Element Call app if you want. Make sure to leave Jitsi Video as the default.
- Select "Set your availability".
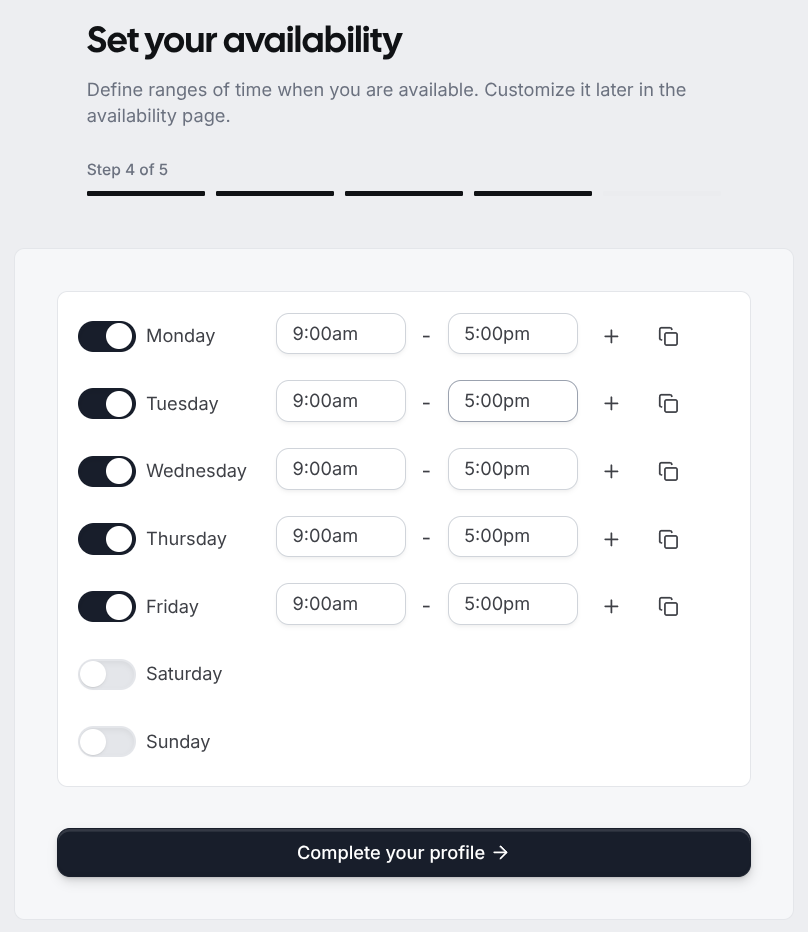
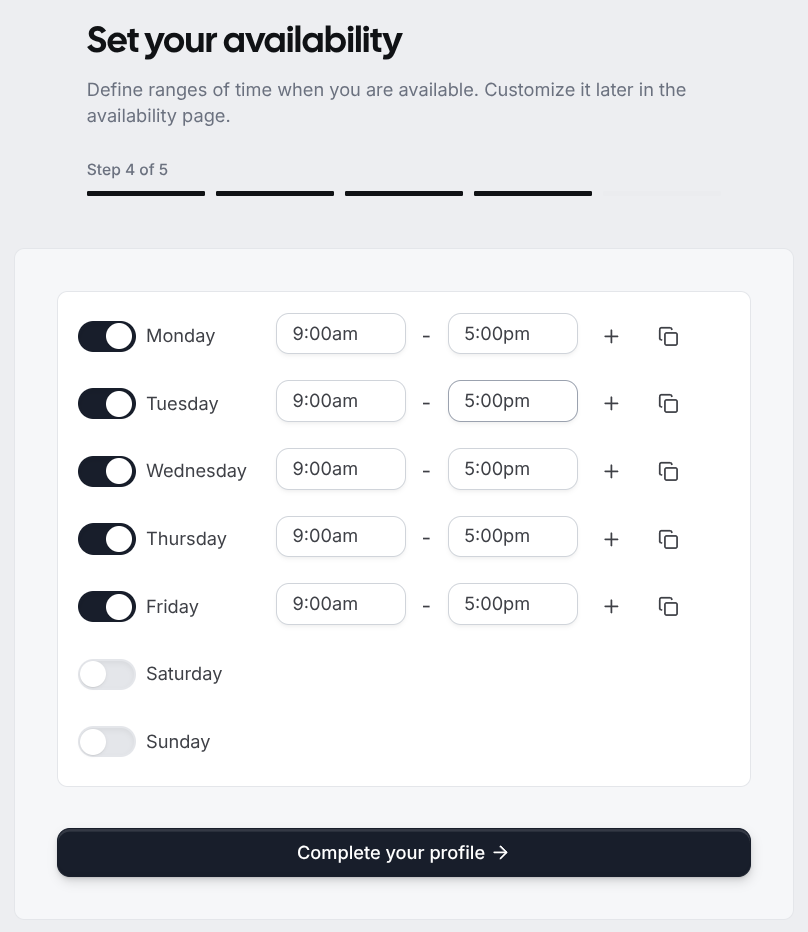
- Use this screen to set your usual availability. Then select "Complete your profile".
- Use the + to add multiple time slots on the same day (useful if you want to insert a break during the day) and the copy icon to duplicate one day to other days.
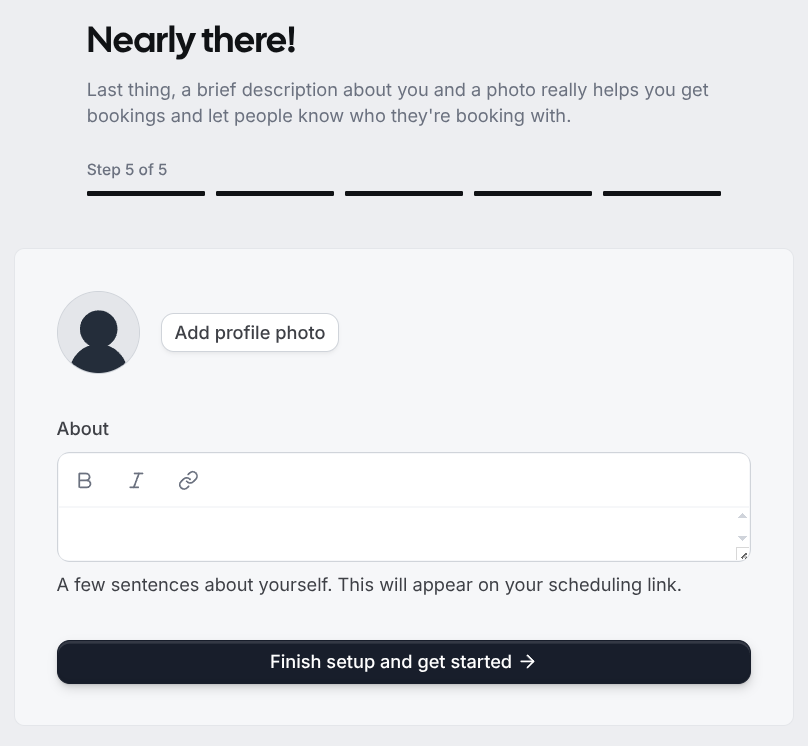
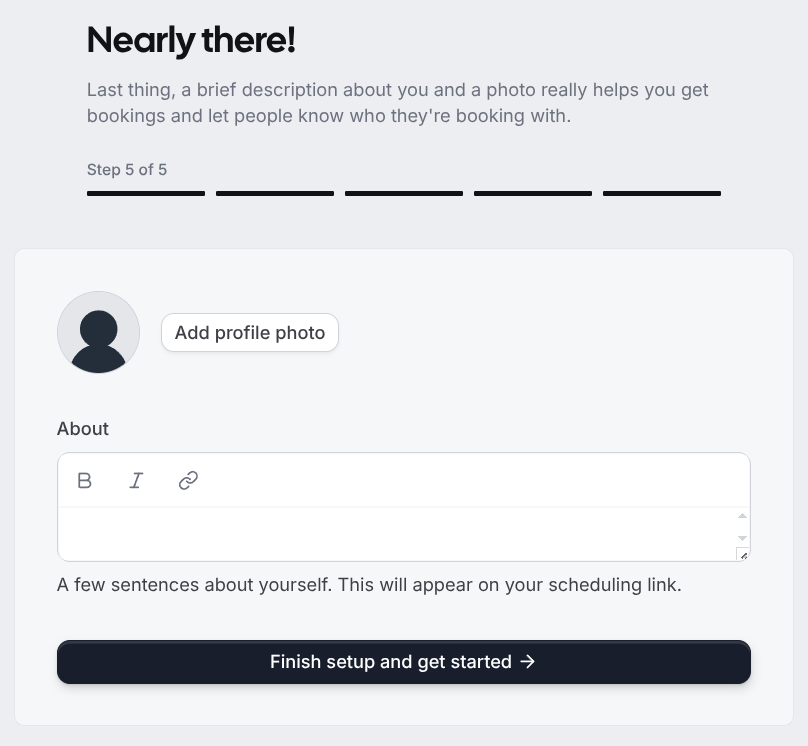
- Optionally, add your CBTS profile picture (and maybe some details about yourself) on the next screen. Then select "Finish setup and get started".
- You have set up your Calcom event and are ready to start accepting meeting invitations.
From here, you can connect your Google calendar (if you didn't during set up) or customize your offered "events".